Eliminate distracting noise from your photos and take your photography to the next level by understanding What is Photographic Noise and following our top 10 tips to control it.
Discover how to reduce noise and get cleaner, sharper, and more professional-looking photos. Whether shooting in low light, using high ISO settings, or capturing long exposures, our tips will help you control noise and create stunning images.
As a photographer, you may have encountered this term several times, and it refers to unwanted grainy or speckled visual distortion in images. Photographic noise can ruin an otherwise perfect photograph, and it is caused by various factors, such as the camera’s sensor, ISO settings, and exposure time.
Noise in photos is particularly noticeable in low light conditions and can lead to poor image quality.
Photographic noise is a common problem that affects many photographers, and if handled correctly, it can save your shots. Fortunately, several ways exist to control it and ensure that your images are clear and crisp.
By understanding the causes of photographic noise and how to prevent it, you can produce high-quality images free of distortion.
This article will provide an in-depth overview of photographic noise and how to control it. We will cover everything from what photographic noise is and the causes of noise in photos to tips on reducing noise in your images.
By the end of this article, you will better understand photographic noise and how to control it, ensuring that you capture sharp and stunning images every time. So, let’s dive in!
Table of Contents
1. Use Lower ISO Settings

Using a lower ISO setting is one of the most effective ways to reduce photographic noise. However, in some situations, such as common light conditions, you may need to increase the ISO setting to capture a properly exposed image. The key is to find a balance between ISO and noise.
One way to achieve this balance is to use the lowest ISO setting possible that still allows you to capture a properly exposed image.
For example, if you’re shooting in low light conditions, you might start with an ISO of 800 or 1600, which can result in some noise. However, using a wider aperture or slower shutter speed can reduce the ISO and maintain the same exposure.
Experiment with different settings to find the sweet spot that works for your situation.
It’s also worth noting that some cameras have better noise-reduction capabilities than others. Higher-end cameras tend to have larger sensors, which can capture more light and produce less noise, even at higher ISO settings.
If you’re using a lower-end camera and struggling with noise, consider upgrading to a newer model with better noise-reduction capabilities.
However, remember that even the best cameras can produce noise in certain situations, so it’s essential to understand how to control photographic noise in any circumstance.
2. Use a Tripod
Using a tripod is one of the most effective ways to reduce camera shake and minimize the likelihood of noise in your images. Camera shake can be caused by even the slightest movement of your hands or body, resulting in blurry or noisy images.
A tripod provides a stable camera platform and helps eliminate camera shake.
A tripod is essential when shooting in low light conditions or using long exposure times. In these situations, the camera shutter remains open for an extended period, which makes it more prone to camera shaking. A tripod can help to keep your camera steady, allowing you to capture sharp, noise-free images.
When choosing a tripod, it’s essential to consider its stability and weight-bearing capacity. A sturdy tripod will provide more stability and is less likely to shake or wobble. Additionally, the tripod should support the weight of your camera and lens comfortably.
While a tripod can be bulky and cumbersome, it is a worthwhile investment for any serious photographer. It can help to reduce camera shake, minimize noise, and produce sharper, more detailed images.
3. Use a Faster Lens
A faster lens with a wider aperture, such as f/1.8 or f/1.4, will allow more light to enter the camera, so you can use a lower ISO setting, resulting in less noise in your images.
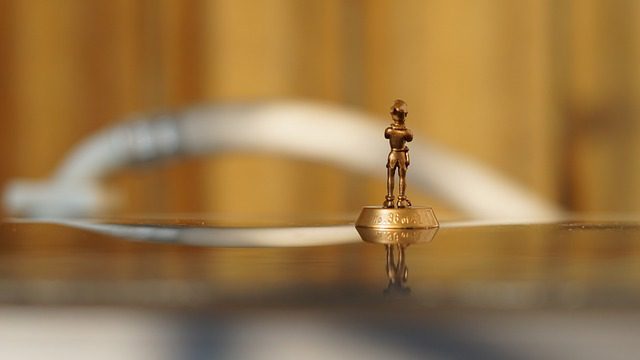
This lens type is beneficial in low-light situations where there isn’t enough light to expose your shot properly. It can also help you achieve a shallower depth of field, which can create a beautiful bokeh effect.
However, it’s important to note that a fast lens can be expensive, and not everyone can afford one. But a fast lens is an excellent investment if you’re serious about photography and frequently shoot in low-light conditions.
Also, remember that even with a fast lens, you should still try to keep your ISO as low as possible to avoid introducing noise into your images.
In addition to helping reduce noise, a faster lens can improve overall image quality by producing sharper and more detailed images.
It’s worth noting that different lenses have different maximum apertures, so if you’re in the market for a new lens, do your research to find the right one for your needs.
4. Increase Exposure Time
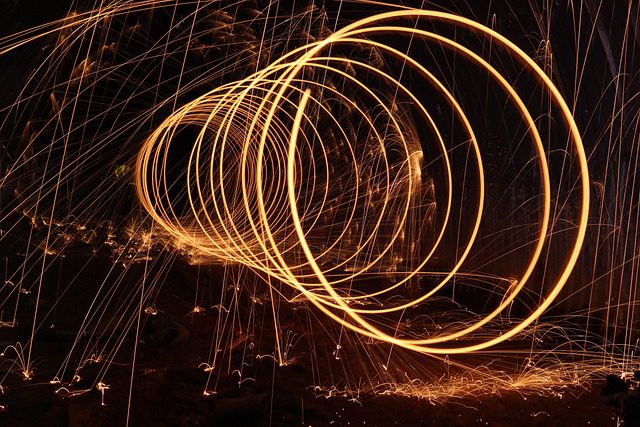

Increasing the exposure time can effectively reduce image noise, but it’s essential to be mindful of the potential for motion blur. When using a longer exposure time, any movement in your subject or camera can cause blur in your image.
This is especially important to consider when photographing moving subjects or handholding your camera.
To reduce the risk of motion blur, it’s essential to use a stable shooting position, such as a tripod, and to use any image stabilization features your camera or lens may have. You can also experiment with the shutter speed to find a balance between reducing noise and avoiding motion blur.
Another factor to consider when increasing the exposure time is the amount of light in the scene. If the setting is already well-lit, increasing the exposure time may not be necessary and could result in overexposed images. Be sure to monitor your camera’s histogram to ensure proper exposure.
Overall, increasing the exposure time can be an effective way to reduce noise in your images. Still, it’s essential to be mindful of motion blur’s potential and use a stable shooting position.
5. Use Noise Reduction Software
Noise reduction software is an effective way to remove noise from your images. These programs work by analyzing the image and identifying areas with noise. They then apply algorithms to remove the noise while preserving as much detail as possible.
Many editing software programs have built-in noise reduction features to help remove noise from your images. Adobe Lightroom and Photoshop are popular software options that include noise-reduction features.
Both programs have advanced algorithms that can effectively reduce noise while preserving detail in your images.
Another software program that is known for its noise-reduction capabilities is Topaz DeNoise. This software uses artificial intelligence to analyze your images and remove noise while retaining detail.
When using noise reduction software, it’s essential to be cautious not to overuse the tool. Overuse can result in a loss of detail and a “plastic” look to your images. It’s best to use noise reduction software sparingly and selectively on the image areas with the most noise.
6. Shoot in RAW
Shooting in RAW is highly recommended for photographers who want maximum control over their images, including the ability to reduce noise during post-processing. RAW files contain all the data the camera’s sensor captured without any compression or processing applied.
This means you can adjust the exposure, white balance, and other settings without losing image quality.
When shooting in RAW, you can also use specialized noise reduction software specifically designed to handle RAW files. These programs can reduce noise in specific image areas, preserving more detail and producing a cleaner final result.
However, it’s worth noting that shooting in RAW does require more storage space and processing power than shooting in JPEG. RAW files are larger and need more processing time to edit, so it’s essential to have enough storage space and a powerful computer to handle the workflow.
Despite these challenges, shooting in RAW can be a game-changer for photographers who want the highest control over their images. The increased dynamic range and ability to reduce noise make RAW files a powerful tool in any photographer’s toolkit.
7. Clean Your Camera Sensor
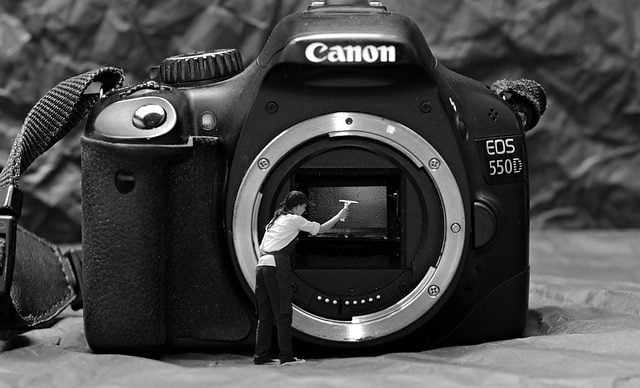

Cleaning your camera sensor is an essential task every photographer should undertake regularly. The presence of dust and other particles on the sensor surface can create spots and blemishes in your images.
These spots can look like noise and affect the picture’s overall quality. Cleaning the sensor is relatively easy, but it requires a certain level of care and precision.
There are several methods for cleaning your camera sensor, including using a blower, a sensor swab, or taking your camera to a professional cleaning service. A blower is a simple and affordable tool that can blow away dust particles from the sensor surface.
A sensor swab is a more advanced method that involves applying a cleaning solution to a specially designed swab and gently wiping the sensor surface. If you need more confidence in cleaning your camera sensor, you can take it to a professional cleaning service.
They have specialized tools and expertise to clean your camera sensor without damaging it.
Regardless of the cleaning method you choose, cleaning your camera sensor regularly is essential. How often you clean your sensor will depend on how frequently you use your camera and the conditions in which you use it.
If you frequently change lenses, shoot in dusty or dirty environments, or notice spots in your images, it is best to clean your sensor more often. Keeping your camera sensor clean can significantly reduce the likelihood of noise in your images.
8. Avoid Underexposure
Underexposure is the term used to describe images that are too dark. It can occur when the camera’s settings are not correctly adjusted for the lighting conditions or the scene fools the camera’s metering system.
When an image is underexposed, the details in the shadows can be lost, and the image may appear noisy when brightened in post-processing.
Avoiding underexposure is crucial to reducing the amount of noise in your images.
Ensuring that your camera settings are appropriate for the lighting conditions and the subject is essential to prevent underexposure. You can use the camera’s light meter or histogram to gauge the correct exposure.
If you need clarification on the correct exposure, it is best to err on the side of overexposure, as this will provide more information to work with in post-processing.
Overexposed images can be corrected in post-processing, while underexposed photos may be difficult to salvage without introducing noise.
9. Avoid Using Digital Zoom
Digital zoom works by cropping the image and enlarging the remaining portion, resulting in losing image quality. This process can introduce noise in the enlarged image, mainly if you’re working with a camera with a small sensor.
Moving physically closer to your subject rather than relying on digital zoom can help maintain the quality of your image while also reducing noise. If getting physically closer to your subject isn’t an option, consider using a lens with a longer focal length, allowing you to zoom in optically without sacrificing image quality.
If you have no choice but to use digital zoom, try to limit the amount of zoom as much as possible, as this will reduce the likelihood of introducing noise. You can also use noise reduction software to help minimize the noise in your images.
10. Upgrade Your Camera
Newer camera models often have improved sensor technology and image processing algorithms designed to handle low light conditions and produce cleaner images with less noise.
These cameras often have higher ISO capabilities, allowing you to use higher ISO settings without introducing as much noise.
Additionally, newer cameras may have built-in noise reduction features that can further reduce noise in your images. These features work by analyzing the image data and selectively reducing noise in areas of the image where it is most visible while leaving other areas untouched.
Some cameras even have dedicated “noise reduction” modes to use when shooting in low light conditions.
Upgrading your camera can be costly, but it may be worth considering if low-light photography is vital to you.
However, it’s important to remember that even the most advanced camera technology will have limitations regarding low-light photography. Good shooting techniques and post-processing methods will always be necessary to achieve the best results.
Conclusion: What is Photographic Noise?
In conclusion, controlling photographic noise is crucial to achieving high-quality images. As a photographer, it’s essential to understand how you can minimize the noise in your images.
By using our ten tips discussing what is photographic noise, you can reduce noise and enhance the visual quality of your photos. Using a lower ISO setting, a tripod, and a faster lens are ways to capture clearer and sharper images.
Increasing exposure time is another effective technique, although you must be careful not to introduce motion blur. Using noise reduction software and shooting in RAW format can also help minimize noise during post-processing.
Keeping your camera sensor clean, avoiding underexposure and digital zoom, and upgrading your camera to a newer model are other ways to control photographic noise.
Remember that these techniques work together and may vary depending on the shooting conditions, so it’s essential to experiment and find what works best for you. In summary, taking control of photographic noise can be challenging, but it’s a crucial aspect of photography.
By implementing these techniques, you can create stunning images free from distracting noise.


Gideon van Niekerk
Photographer & Blogger
Transform Your Passion for Photography into a Thriving Career! As a professional photographer with over a decade of experience, I share the secrets of building a successful photography business on my blog. Unlock the Secrets to Starting a Profitable Photography Business Today! Join me on an incredible journey of discovery, where you’ll learn insider tips and tricks to building a successful photography empire. Don’t miss out on this exciting opportunity to turn your passion into profit – let’s embark on this journey together!


